
Review · LUCERNE & LAKE LUCERNE TOURS
Best of Lucerne Walking Photography Tour
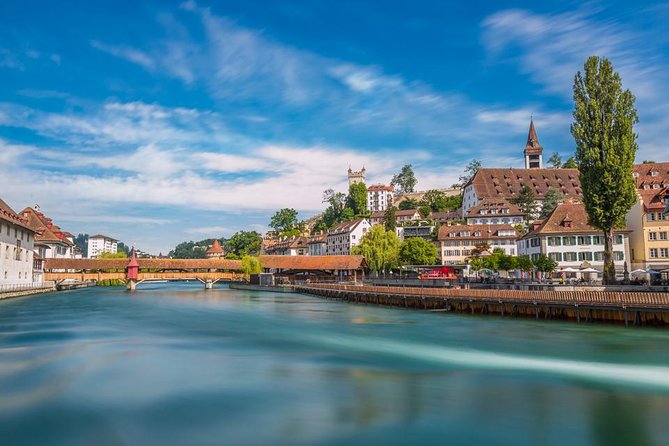
Lucerne looks different when you have a camera plan. This 2-hour small-group walking photography tour takes you to the city’s most photogenic corners with photographer guide Luis, so you can turn Chapel Bridge, the lake, and old walls into sharper shots. I especially love the way you get both photo tips and local context, not just a walk-by with a few snapshots. One thing to consider: you do some uphill steps along the walls, so wear grippy shoes.
If you shoot with a compact camera, a more serious setup, or just your smart phone, you’ll still get something out of it. I like that the group is capped at 8 travelers, which makes it easier for Luis to slow down, check framing, and be patient when you’re swapping lenses. The possible drawback is that there is no time carved out for long breaks, and no food or drinks are included, so plan on pacing yourself.
In This Review
- Quick Take: What Makes This Tour Worth Your Time
- Why Lucerne Through a Lens Feels So Much More Useful
- Price, Group Size, and Timing That Actually Matter
- Where You Meet, How Long You Walk, and What to Bring
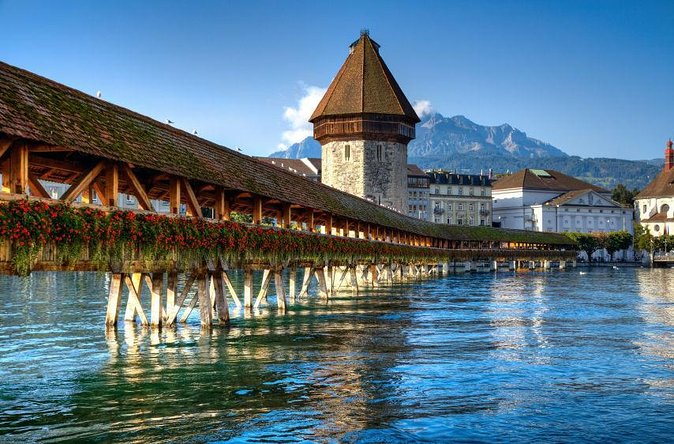
- Chapel Bridge: How to Photograph a Medieval Icon Without Getting Stuck
- Lake Lucerne and the Swiss Alps: Getting Panoramas That Look Real
- Lucerne City Wall and the Nine Medieval Towers
- City Castle and the Best Panorama View You Can Walk to
- Walking Uphill on the Ancient Wall for Alpine Views
- Fortification Area: Three Towers in Summer, Nine Towers in Winter
- Chaff Bridge: Design Details and the Right Way to Stop
- The Most Important Swiss Monument Stop
- How Guide Luis Makes the Photos Better, Not Just the Facts
- Who This Tour Is Best For
- Should You Book This Lucerne Walking Photography Tour?
- FAQ
- How long is the Lucerne walking photography tour?
- What group size is it?
- What time does it start and where is the meeting point?
- Do I need a specific camera or experience level?
- What is included in the price?
- Is food or transport included?
Quick Take: What Makes This Tour Worth Your Time
- Small group (max 8) means more attention and quicker help with composition
- Photographer guide Luis connects picture-taking with Lucerne details and stories
- All camera skills welcome, from smart phone to a DSLR
- Nine towers and uphill walls give you both classic shots and higher vantage points
- Seasonal fortification route (three towers in summer, nine in winter) changes what you see
- Ends back at the meeting point, so you can keep your afternoon flexible
Still on the lake? Other Lucerne reviews
- Mount Pilatus Summit from Lucerne With Lake Cruise★ 4.5 · 1,260 reviews
- Jungfraujoch Top of Europe Day Trip from Lucerne★ 4.5 · 840 reviews
- Lucerne Walking & Boat Tour: The Best Swiss Experience★ 4.5 · 417 reviews
- Lake Lucerne Panoramic Sightseeing Cruise★ 4.5 · 363 reviews
Why Lucerne Through a Lens Feels So Much More Useful
Lucerne is the kind of place where postcards are already good. The hard part is getting your photos to look like you noticed more than the obvious angles. This tour helps you do exactly that by guiding where to stand, how to frame, and what details to look for, while still walking at a realistic pace.
I also like the balance in the stops. You’re not only chasing iconic landmarks. You also hit patterns in stonework, tower shapes, and viewpoints along the wall. That’s the difference between a decent set of vacation photos and images that look intentional.
Price, Group Size, and Timing That Actually Matter
At $212.65 per person for about 2 hours, this is not a cheap stroll. But you are paying for two things that are hard to replace on your own: a professional photographer guide and structured photo coaching.
The small-group size is the main value lever. With a maximum of 8 travelers, you’re less likely to get “lost in the crowd” when you need help adjusting settings or finding the right angle. You’re also more likely to get personal feedback fast. I think that’s especially helpful if you bring a serious camera, because you might need time to change lenses and fine-tune your shot.
Timing is set for 3:00 pm. Afternoon light can be flattering on stone and water, but it also depends on season and weather. If you’re picky about lighting, come prepared for changeable conditions and still trust the guide to steer you to angles that work.
Where You Meet, How Long You Walk, and What to Bring
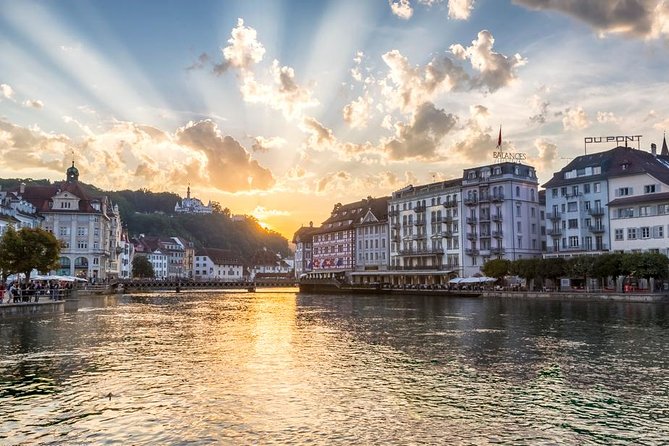
You meet at Torbogen LuzernBahnhofpl., 6003 Luzern, Switzerland, and the tour ends back at the same place. There is no hotel pickup, and the start location is near public transportation, which makes this easier to plug into a normal day in town.
You should have moderate physical fitness. The route includes uphill walking along the walls, so skip fashion sneakers and choose something you can move in comfortably.
Because food and drinks are not included, I recommend you bring water, and have a small snack before you go if you tend to get hungry. Also, bring what you need for the camera part: extra battery if you use a camera, a lens cloth if you have one, and your usual phone charging option if you’re filming.
Good news for gear: all camera skills are welcome. The tour works whether you’re shooting a compact, a more professional camera, or just a smart phone. That means you’re not forced into a one-size-fits-all technical lesson.
Chapel Bridge: How to Photograph a Medieval Icon Without Getting Stuck
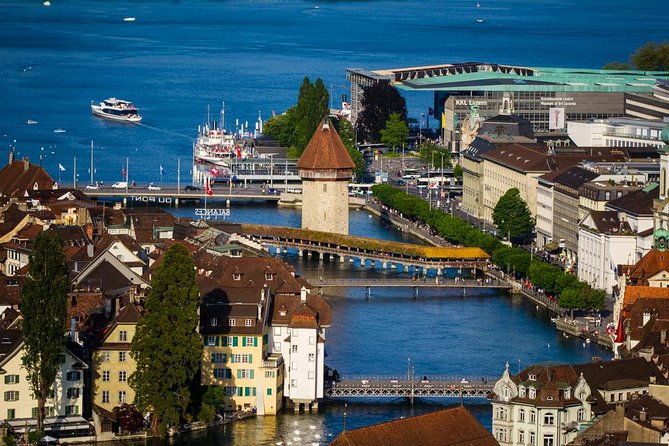
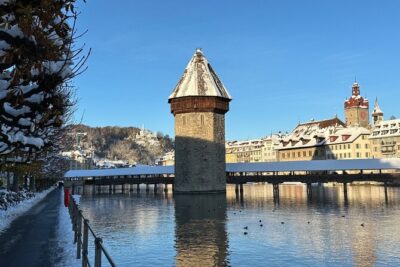
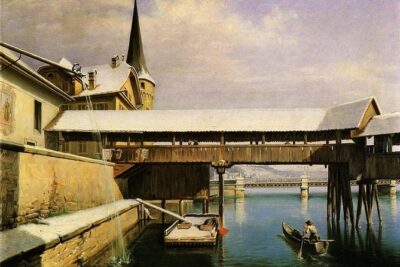
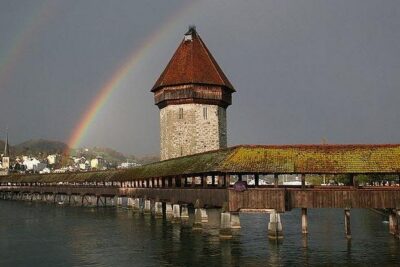
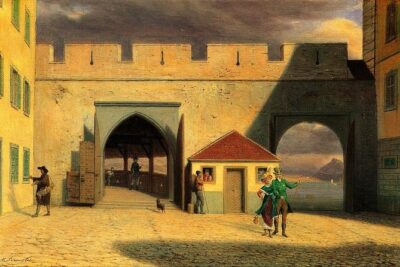
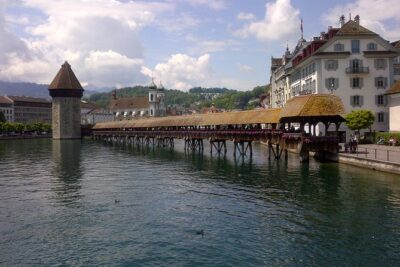
The tour kicks off with the Chapel Bridge. You’ll be photographing it while learning history along the way, and the time spent here depends on the group. That flexibility matters because Chapel Bridge has a lot of “busy” details. If you’re not careful, your shot can turn into a crowd of people and architecture.
This is where having a photographer guide is practical. Luis’s focus is not only on what to shoot, but how to see. In particular, you’ll get help turning the bridge into a frame, with the right viewpoint and perspective so it looks like a real scene, not a crowded postcard.
If you’re shooting on a phone, you’ll still benefit from framing tips like where to place the horizon and how to keep vertical lines from looking tilted. If you’re on a DSLR, you’ll likely get coaching on how to steady yourself and what to prioritize for sharpness.
Other Swiss towns covered on foot
Lake Lucerne and the Swiss Alps: Getting Panoramas That Look Real
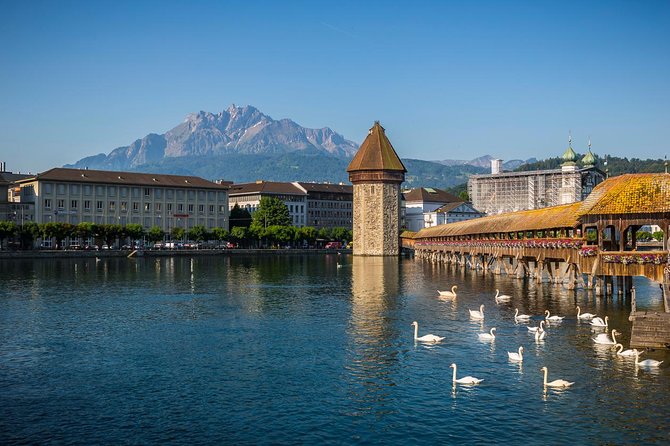
Next up is lake Lucerne and the Swiss Alps. This stop is about going from landmark photos to space and atmosphere. Wide views are where many people get frustrated, because the scene is big and your camera might not translate that “wow” feeling.
Here, the guide’s “tips and tricks” are valuable because they can steer you toward a composition that balances the waterline with mountain shapes. You’re aiming for a photo that feels balanced, not overexposed skies with the mountains washed out or too-dark water.
One practical advantage of doing this on a guided walk is that you don’t waste your limited time guessing angles. In 2 hours, you want your best attempt to happen early enough that you can still adjust before the light shifts.
Lucerne City Wall and the Nine Medieval Towers
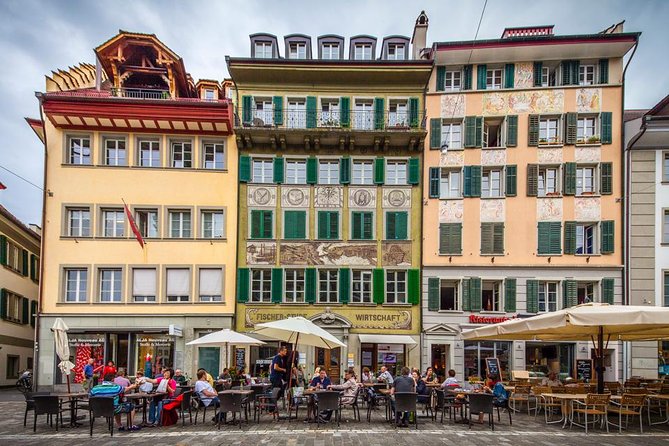
Then you’ll focus on the city wall and its nine original medieval towers. This is a great section for photographers, because walls and towers are full of repeatable shapes. Repetition is your friend. It gives you a natural visual structure for your frame.
What you’ll learn here is how to photograph the towers as details and as a group. A wide shot helps you show the overall feel of fortifications. A closer view helps you capture texture in stone and the way towers rise out of the wall.
Even if you’re shooting with a phone, you can do well here. Look for angles where the wall leads your eye into the towers. Keep an eye on perspective: getting too close can make tall towers look distorted, but stepping back can make everything feel properly “measured.”
City Castle and the Best Panorama View You Can Walk to
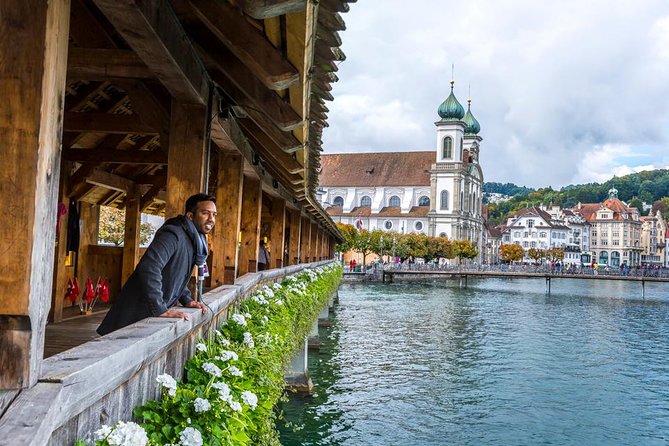
After the wall section, you’ll visit the city castle and capture a panorama over the city, lake, and mountains. Panoramas are where most photo walks either feel boring or turn into chaos. This one works because it’s built around movement, viewpoints, and practice, not just standing somewhere and hoping.
You’ll be walking enough to reach a view, not just passing through it. That matters because the best panorama angles usually require a little repositioning.
If you want a tip to use right away: watch how the edges of your frame behave. A city panorama often looks best when you keep major lines straight and place the main subject where your eye naturally lands. Luis’s coaching style is described as patient in the real world, so if you need a second or third attempt to get the horizon right, you’re in the right kind of tour.
Walking Uphill on the Ancient Wall for Alpine Views
One of the more active parts is walking along the ancient wall and going uphill to enjoy panoramic alpine views. This is where comfortable shoes really pay off. The goal is to reward your effort with views that don’t look like “same photo, different angle.”
Uphill also changes how you can frame. From a higher position, buildings and rooftops compress into the scene, and the lake can appear with more depth. If you love photos that feel layered, this section is your chance.
The drawback is the effort. If you’re traveling with sore knees or you dislike hills, you might need to pace more carefully and take your time on the uphill stretch. The tour still stays realistic, but it is not a flat stroll the whole way.
Fortification Area: Three Towers in Summer, Nine Towers in Winter
Next comes the fortification area. You’ll walk on the wall along three towers in summer. In winter, the route changes: you walk along the wall to admire the nine towers and the wall. That seasonal change is a smart detail because fortifications can be harder to access in winter conditions.
This also affects your photo strategy. In summer, you can emphasize the tower trio and the rhythm of the wall. In winter, you’re more likely to frame the broader fortification view with the whole structure in mind.
Either way, expect a wall walk that encourages you to keep shooting while you move. It’s not just “stand here.” It’s more like “find the next good frame, then go.”
Chaff Bridge: Design Details and the Right Way to Stop
Then you’ll learn about the Chaff bridge and enjoy its beautiful design, while getting photos. Bridges are tricky. They invite classic shots, but they can also be overwhelmed by water reflections and crowded foot traffic.
A guided photo walk helps because you’re not spending your time circling for the perfect spot. You get a focused moment to photograph the bridge with an angle that highlights its design elements rather than just showing that a bridge is there.
This is also one of the stops where the history part matters. Knowing what you’re looking at changes your framing. You tend to photograph the features that carry the story.
The Most Important Swiss Monument Stop
The final stretch includes the most important Swiss monument. The tour calls it out this way, so you can expect a meaningful stop rather than another quick photo pull-off.
From a photography perspective, monument stops are good because they often provide a clean subject. You’re likely to get coached on how to include the monument while still keeping the background from stealing attention. If you like respectful, intentional shots, this part can work nicely in your final set.
I like that the monument comes near the end. By then you’ve had multiple earlier stops to build your eye, so you can use what you learned while the light is still decent.
How Guide Luis Makes the Photos Better, Not Just the Facts
The standout theme from the experience is that the guide is both strong on photo technique and on Lucerne details. In real feedback, Luis is described as highly knowledgeable about historical details, with outstanding photography skills, and a patient teaching style.
That matters in a practical way. If you bring a Nikon or another interchangeable-lens camera, you can end up spending time trying to get settings right or changing lenses. Having a guide who is patient with gear changes, and who can still help you get the shot, makes a big difference.
Also, Luis even took photos of one guest, which is a small thing but a big deal if you’re usually the person behind the camera. A photo walk that includes occasional help for group or personal portraits is more satisfying because you’ll leave with images of yourself, not just the city.
Who This Tour Is Best For
This is a smart fit if:
- you want better photos of Lucerne’s icons without spending hours learning on your own
- you want a guide who connects history and framing
- you’re comfortable walking and don’t mind some uphill wall sections
- you want coaching whether you shoot a phone or a DSLR
It might not be the best fit if:
- you want a totally flat walk
- you need frequent long breaks
- you expect food to be part of the experience
Should You Book This Lucerne Walking Photography Tour?
I’d book it if you care about the difference between snapshots and photos that look like they were planned. The price is fair when you think about the guide time, the small group, and the fact that you’ll cover multiple “must shoot” areas like Chapel Bridge, lake views, nine towers, the castle panorama, fortifications, and the Chaff bridge.
If you’re an experienced photographer, you’ll likely appreciate the chance to work through angles and composition with direct feedback. If you’re newer or mostly on a phone, you still have a real path to better results, because the tour is built for mixed skill levels.
If your priority is only quick sightseeing with no photo coaching, you could skip this. But if you want Lucerne photos you actually feel proud of, this is a strong bet.
FAQ
How long is the Lucerne walking photography tour?
It runs for about 2 hours.
What group size is it?
It is a small-group tour limited to 8 people.
What time does it start and where is the meeting point?
It starts at 3:00 pm at Torbogen LuzernBahnhofpl., 6003 Luzern, Switzerland and ends back at the meeting point.
Do I need a specific camera or experience level?
No. All camera skills are welcome, and a compact, professional camera, or a smart phone can all work.
What is included in the price?
You get a professional photographer guide, a small group tour, and photography tips.
Is food or transport included?
Food and drinks are not included, and hotel pickup and drop-off is not included. Transportation cost is only included if specifically mentioned, and the start area is near public transportation.
More Guided Swiss Outings


The Rest of the Switzerland Reviews
Lucerne and Its Lake, Continued
Just added to the Switzerland review pile
- Cheese, Chocolate and Wine in the Bern Region from Luzern
★ 5.0 · 3 reviews - Best of the Uri Alps: A fjord-like lake, glorious peaks and sustainable tourism
★ 5.0 · 3 reviews - Private city tour in lucerne
★ 5.0 · 4 reviews - Touristic highlights of Lucerne on a Private half day tour with a local
★ 4.0 · 5 reviews - Alpine Majesty:Exclusive Private Tour to Mount Titlis from Luzern
★ 4.0 · 5 reviews - Glacier Express Panoramic Train Round Trip in one Day Private Tour from Luzern
★ 4.0 · 5 reviews
Lucerne & Lake Lucerne Tours next to each other.
 ★ 4.5Mount Titlis and Lucerne Day Trip from ZurichFrom $2151,960 reviews
 ★ 4.5Mount Pilatus Summit from Lucerne With Lake CruiseFrom $2231,260 reviews
 ★ 4.5Jungfraujoch Top of Europe Day Trip from LucerneFrom $366840 reviews
 ★ 4.5Mt Pilatus and Lucerne Day Trip from Zurich With Lake CruiseFrom $250694 reviews
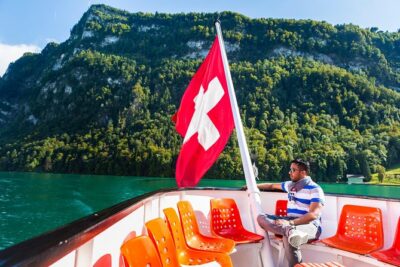 ★ 4.5Lucerne Walking & Boat Tour: The Best Swiss ExperienceFrom $118417 reviews
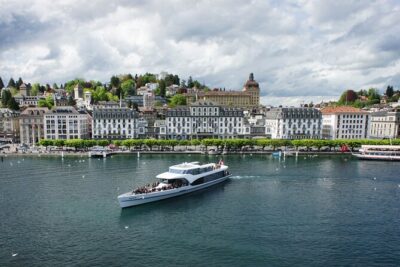 ★ 4.5Lake Lucerne Panoramic Sightseeing CruiseFrom $39363 reviews
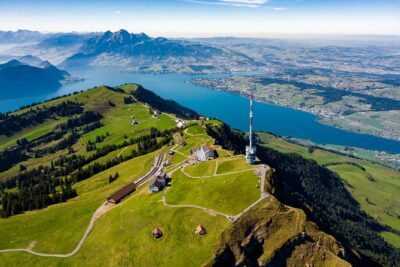 ★ 4.5Mt Rigi and Lucerne Day Trip from Zurich With Boat RideFrom $204297 reviews
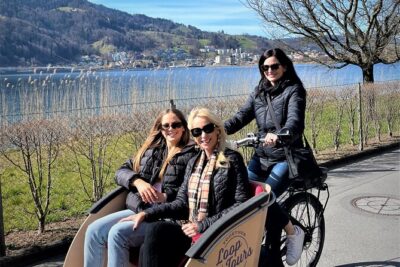 ★ 5.0Lucerne’s Hidden Secrets by Electric Cargo BikeFrom $209288 reviews
Browse the lists this tour appears in